Adding a Concept
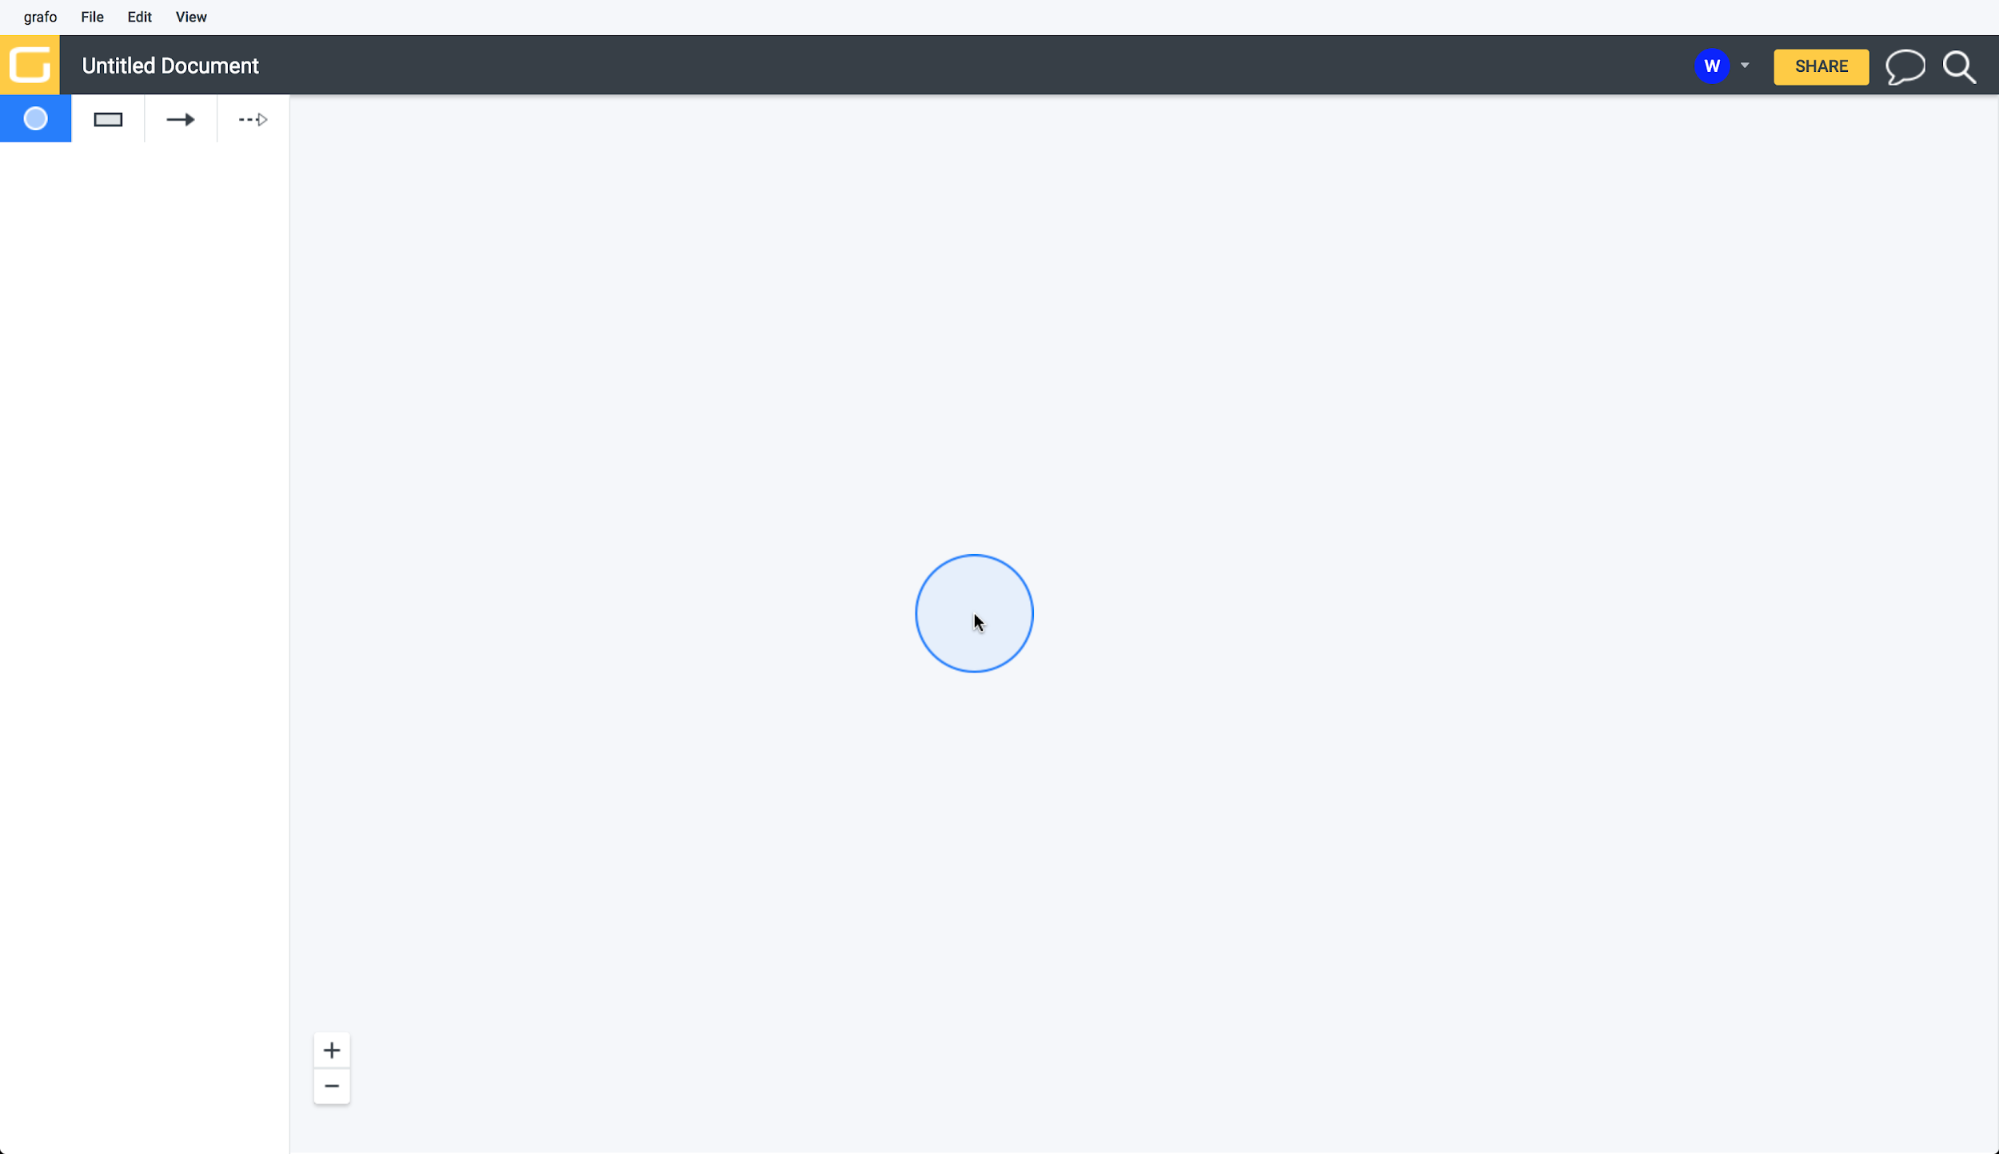
To add a concept to the diagram, click the Concept tool in the left panel:

Move your mouse over to the canvas (you do not need to drag the concept):
and click again to release the concept:
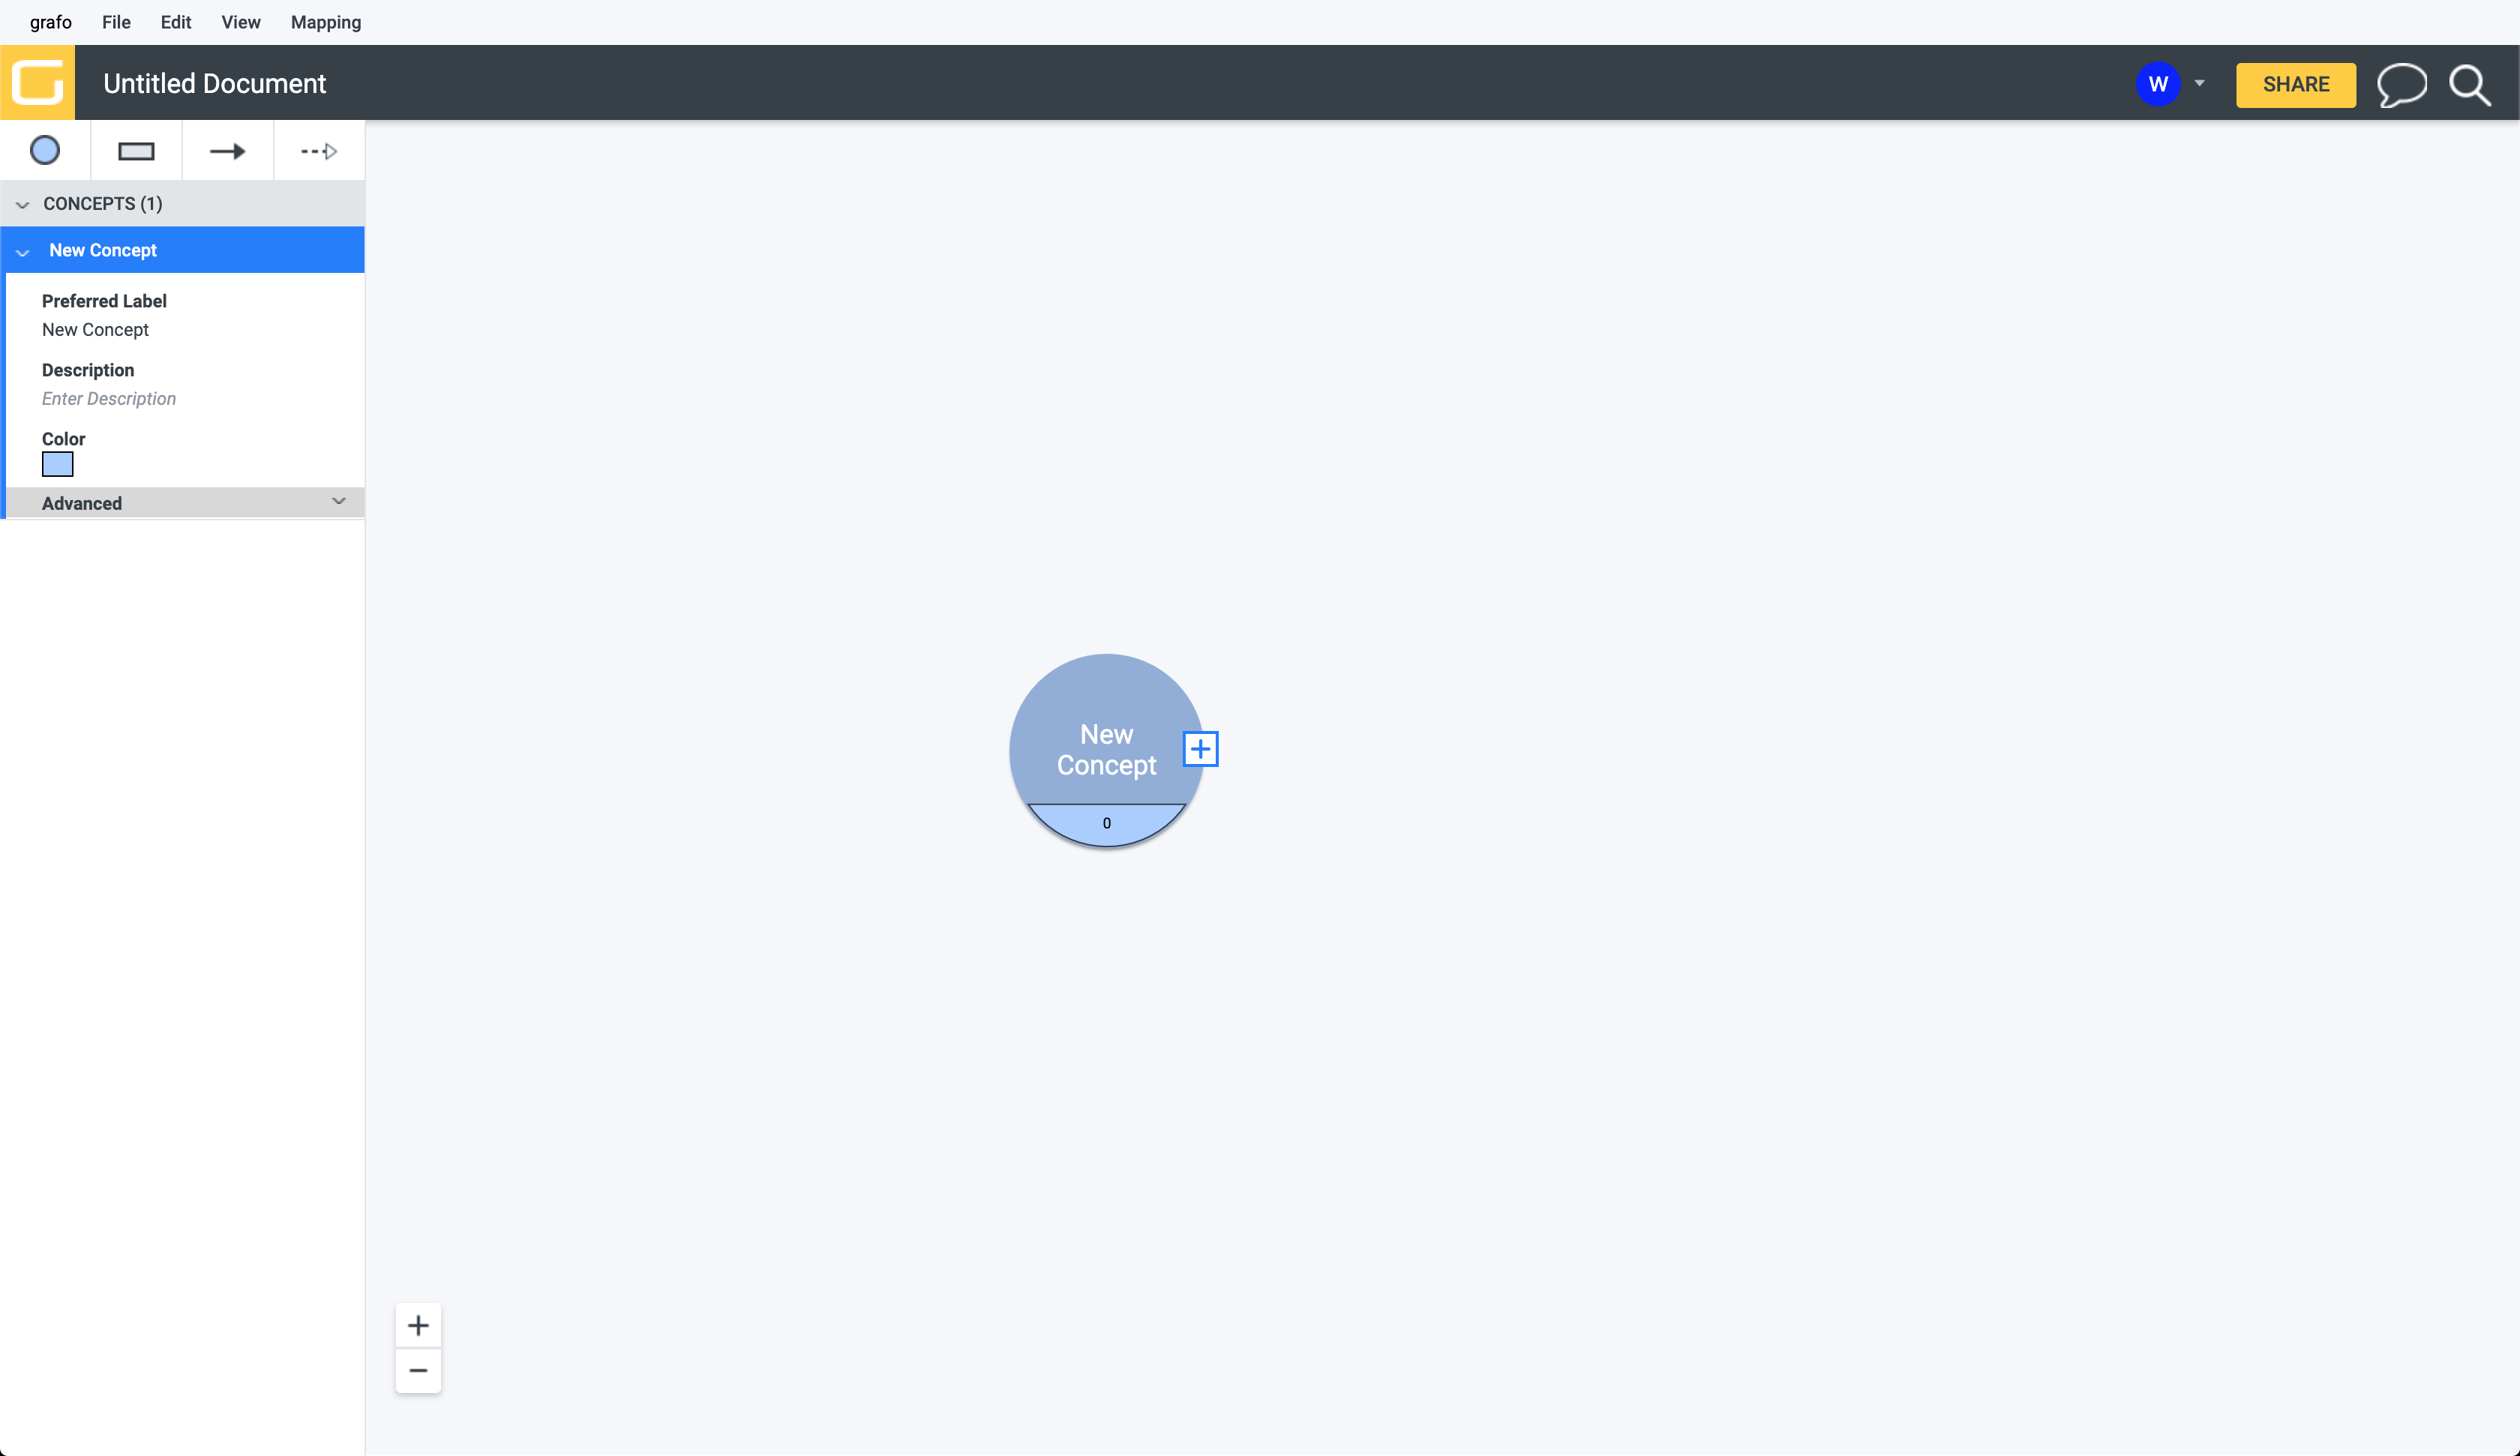
A couple of things happen. First, a concept with the label ‘New Concept’ is placed in the diagram. Second, the detailed information panel appears on the left with more information about this element.
Concept Element
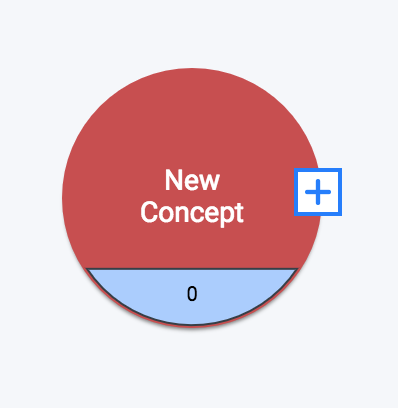
Let’s take a closer look at the concept element in the diagram:
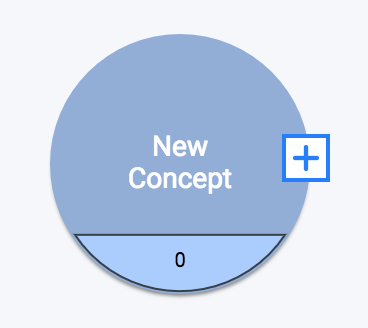
The main body of the concept shows the Preferred Label, in this case ‘New Concept’. To rename the concept, double click on the label and type in your new label.
The lower partition shows the number of Attributes attached to this concept– for now, 0.
Finally, clicking on the ![]() button on the right reveals another menu:
button on the right reveals another menu:
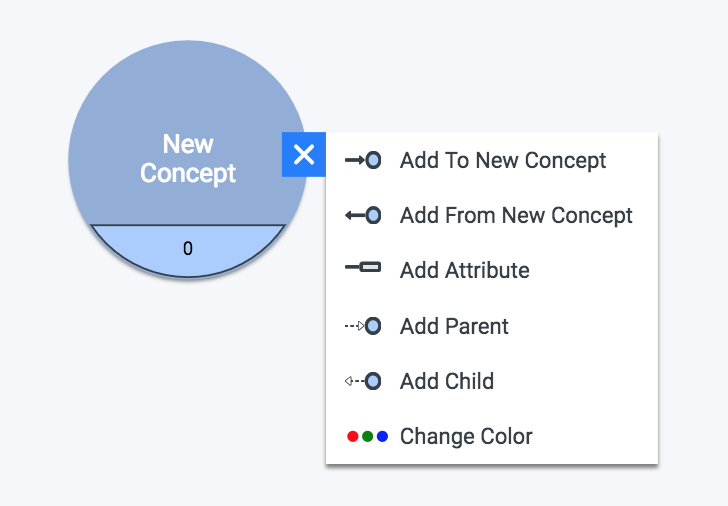
Most of these will be covered later in the appropriate section– adding relationships to/from new concepts, adding attributes, and adding parents/children through specialization relationships.
The only thing of interest to us now is ‘Change Color’. Changing the color is as easy as selecting the new color:
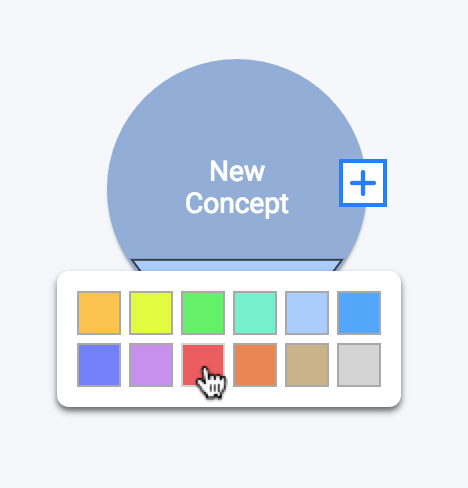 –>
–> 
Detailed Concept Information
Placing a new concept or selecting an existing concept also opens up the detailed information panel about that concept:
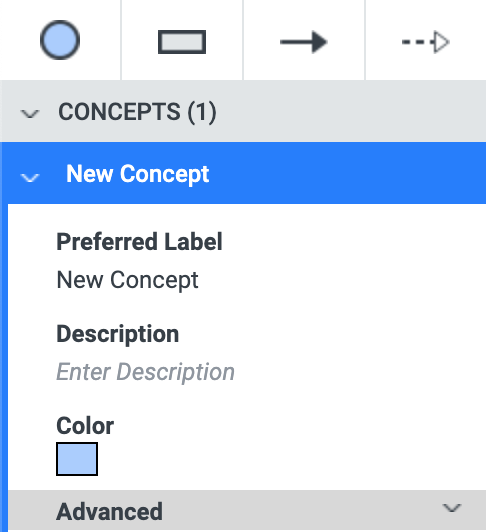
The concept can be edited either directly on the diagram (for events such as renaming and changing the color) or from the detailed information panel.
Preferred Label
The default Preferred Label for all new concepts is ‘New Concept’. To change the label, click on ‘New Concept’ and type in your new label. Notice that this will also change the label in the diagram, as well as the IRI.
Description
Enter a description of your concept here. It is exported as an rdfs:comment:

Color
The color of the element can also be changed from the detailed information panel. Please note that color information is not currently exported.
Advanced Tab
Clicking on the down arrow to the right of ‘Advanced’ will expand the advanced section:
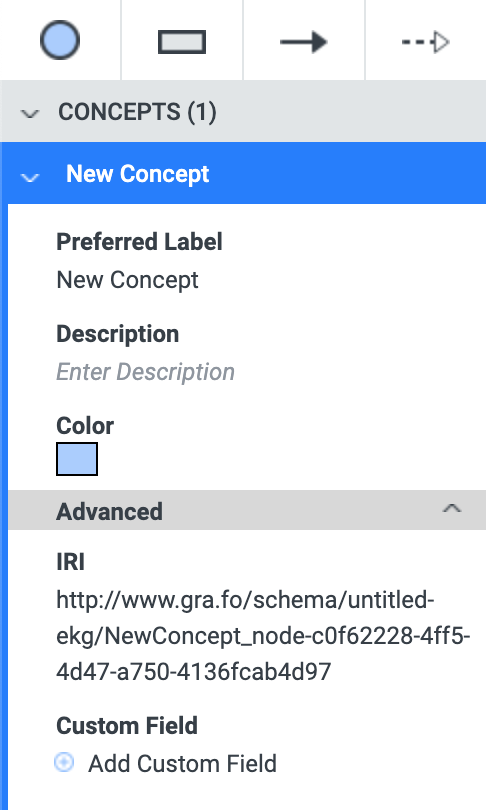
IRI
The IRI of the concept. The default is the Document IRI followed by the concept label and a random string. When you edit the label for the first time, the IRI is automatically updated to match the new label. On any further edits to the label, you will be prompted whether or not you also want to update the IRI. If a new concept is given the same label as an existing concept, the new concept’s IRI will have a random string appended to it to automatically distinguish the two. _Note: attribute IRIs and relationship IRIs behave differently: their default behavior is to re-use the IRI if a new element is given the same label as an existing element. _
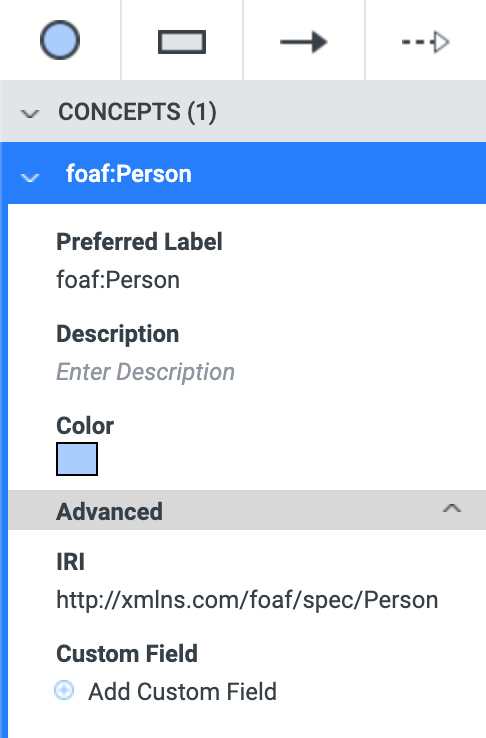
Using a prefix in the Preferred Label
Default or custom prefixes can be used in the Preferred Label to set the IRI for the element. For example, suppose you are using the Person concept from the foaf vocabulary. If you type ‘foaf:Person’ as the Preferred Label, the IRI field will be updated with the full IRI of the concept:
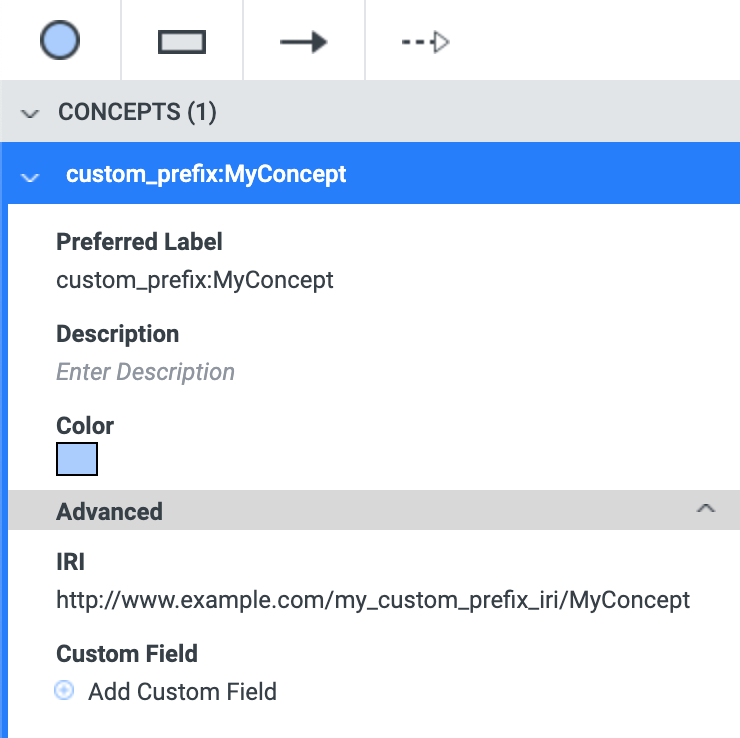
This also works for any custom prefixes you have defined:
Custom Fields
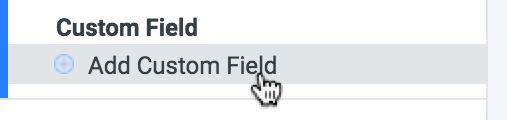
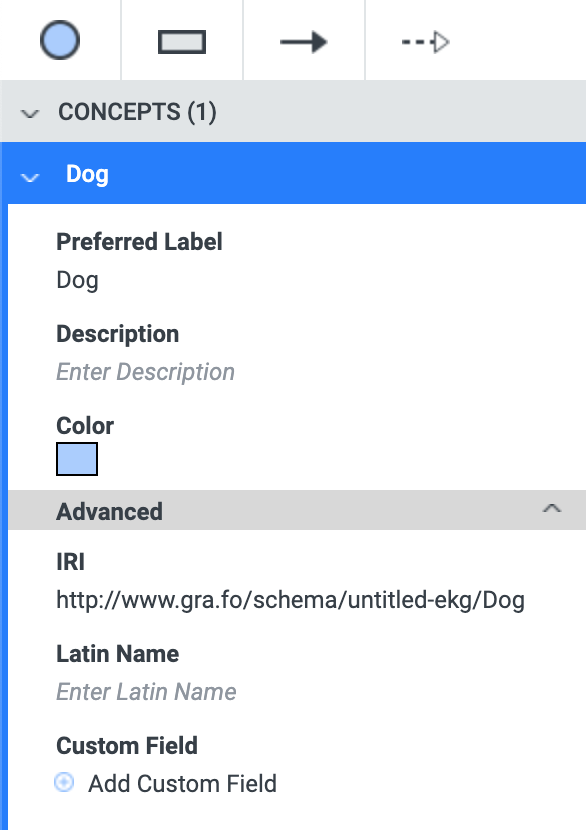
A custom field can be added to the concept. For example, suppose you are working on a knowledge graph about dogs, and you have a concept of a ‘Dog’. The preferred label would be ‘Dog’, but suppose you also wanted to keep track of the Latin name– ‘Canis’. It could be added here as a custom field. First, click on ‘Add Custom Field’:
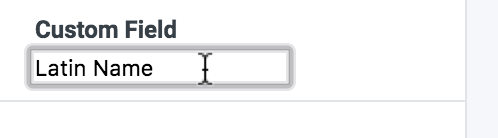
Then you would type the name of the field you want to add– in this case, it would be ‘Latin Name’:
Hit enter, and you will see that this field is added to the list:
To actually enter the Latin Name, click on the text where it says Enter Latin Name and type ‘Canis’, then hit enter:
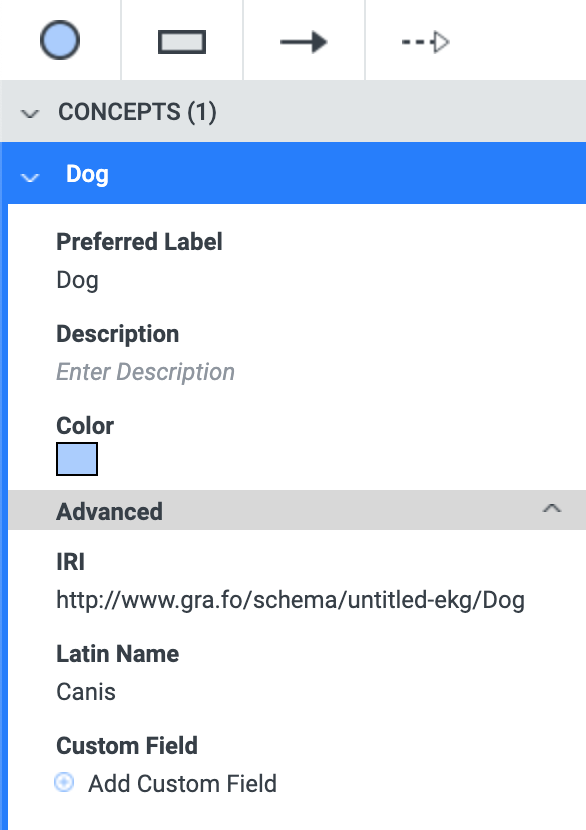
Voilà!
When exported, the custom field will be exported as an annotation property:

And this annotation property will be attached to the ‘Dog’ class:

Additional Options for Other Elements
Attributes and Relationships have additional options available to them in the Detailed Information Panel. Click here to view them for Attributes, and here for Relationships.
Concept Export Type
Concepts are exported as owl:Class.