Building Your First Knowledge Graph
Audience: Beginner
Time to read: 15 minutes
In this tutorial we’ll discuss how to build a basic knowledge graph using Grafo. We will recreate the music festival knowledge graph described in the Getting Started section.
If you haven’t signed up for Grafo yet, click on Get Started in the upper right-hand corner and fill out your info. You’ll receive an introductory email with a link to verify your account. Click on that link and you’re in!
Dashboard
When you first login to Grafo you’ll be taken to the dashboard:
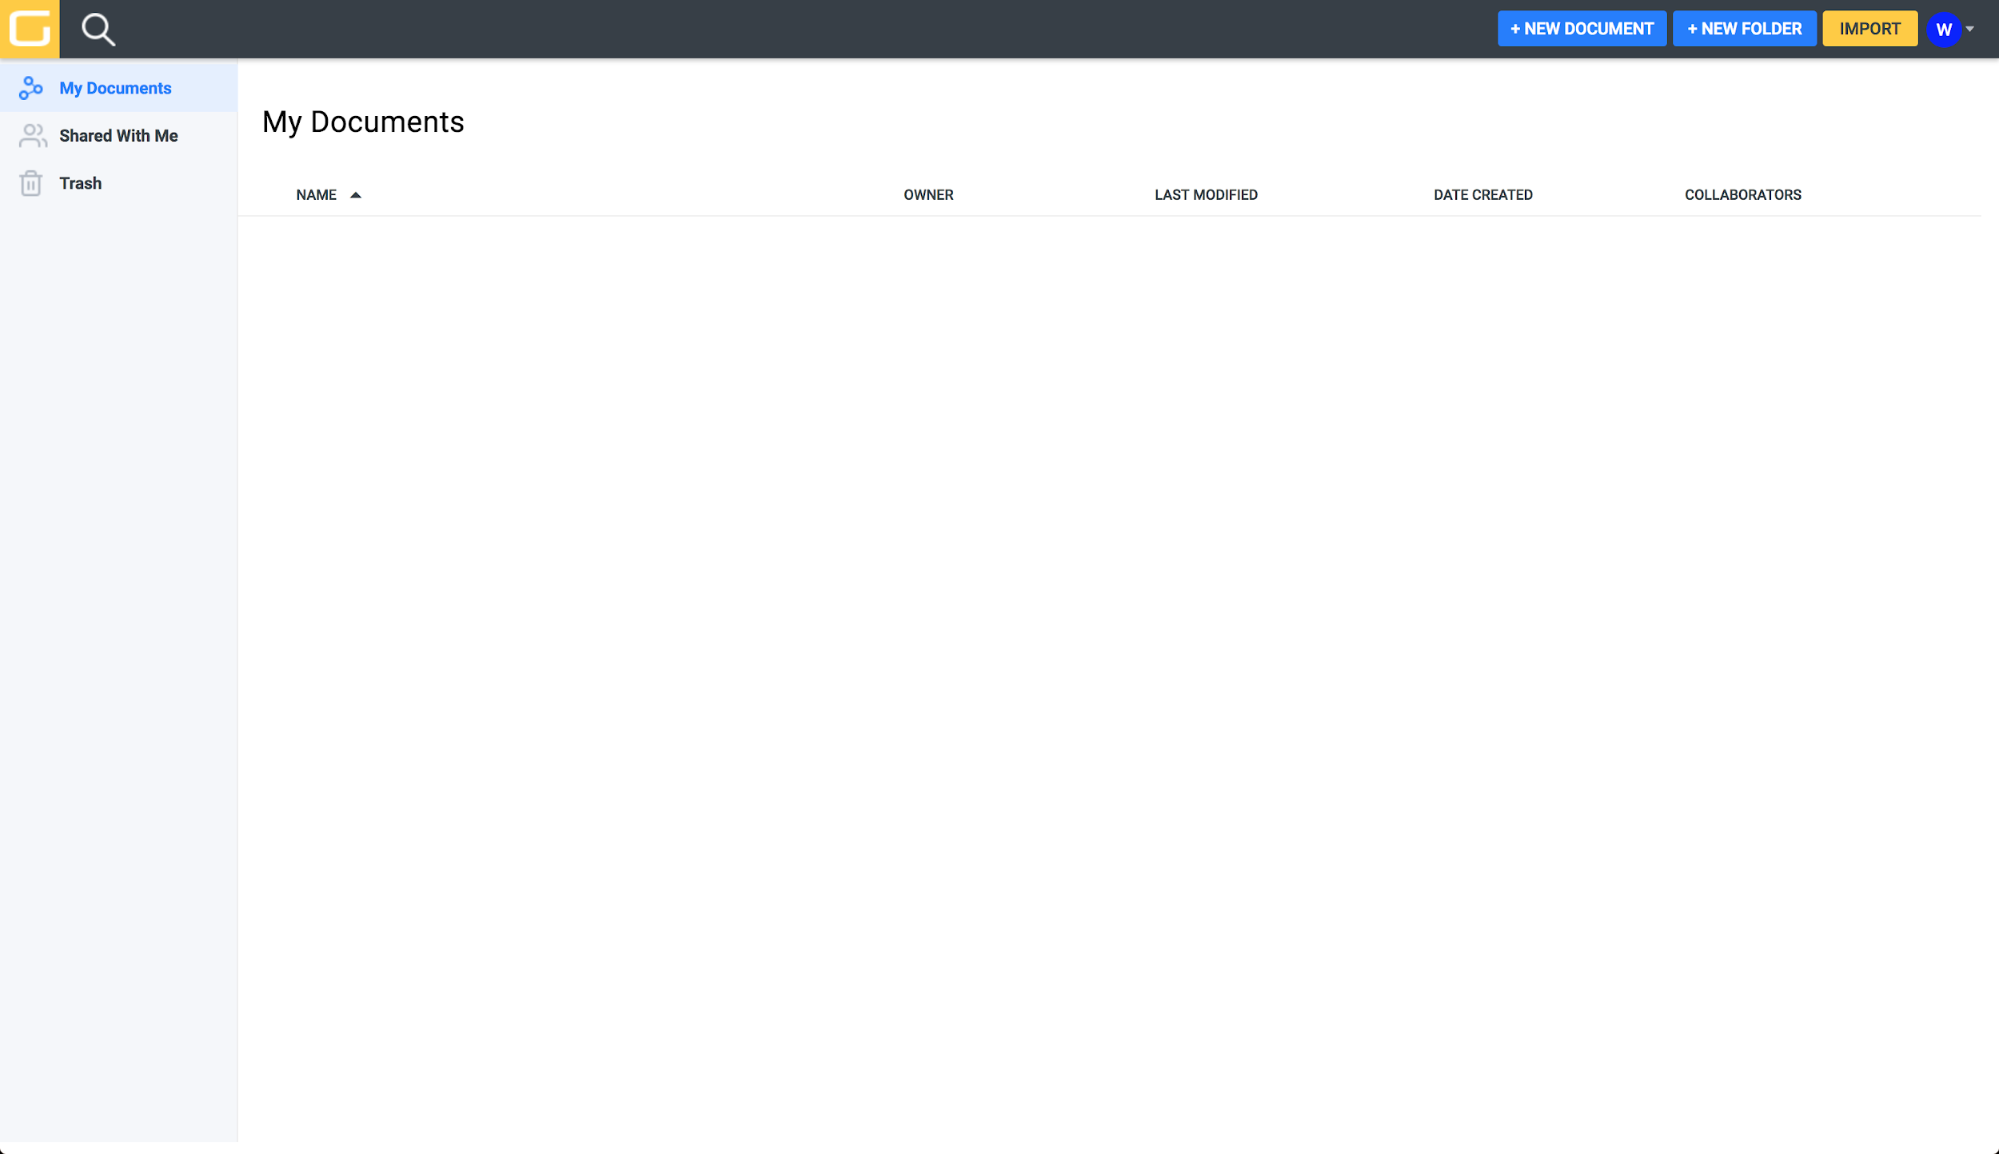
The dashboard displays file-system-like information about your documents. To create a new document, simply click the bright blue + NEW DOCUMENT button in the top right-hand corner:

An editor will open in the current tab:
Editor
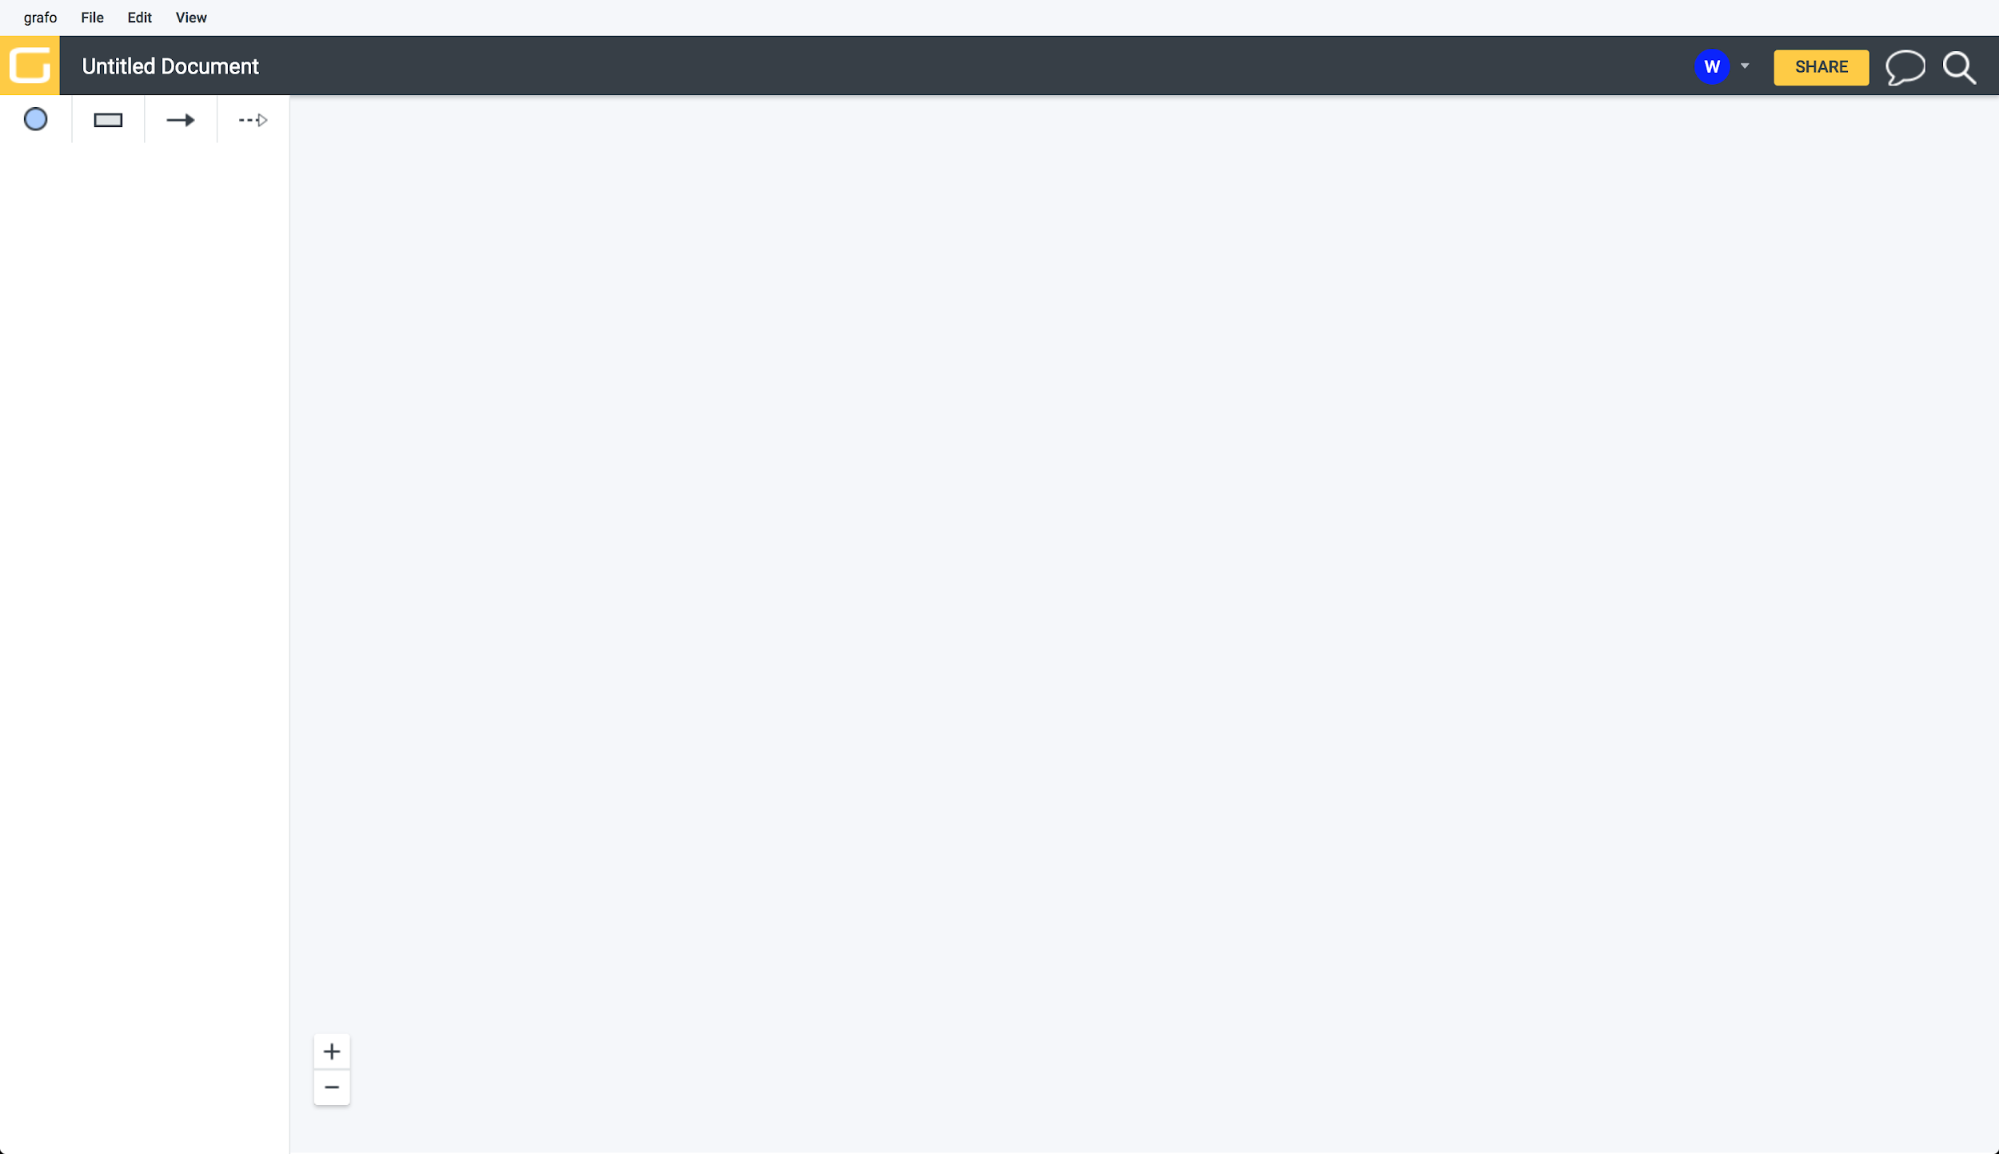
The editor window is where all of the magic takes place.
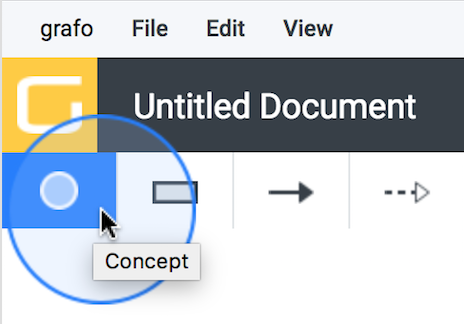
Adding a Concept
First we need an Event concept. To add a concept in Grafo, click on the Concept Tool in the left panel of the editor:
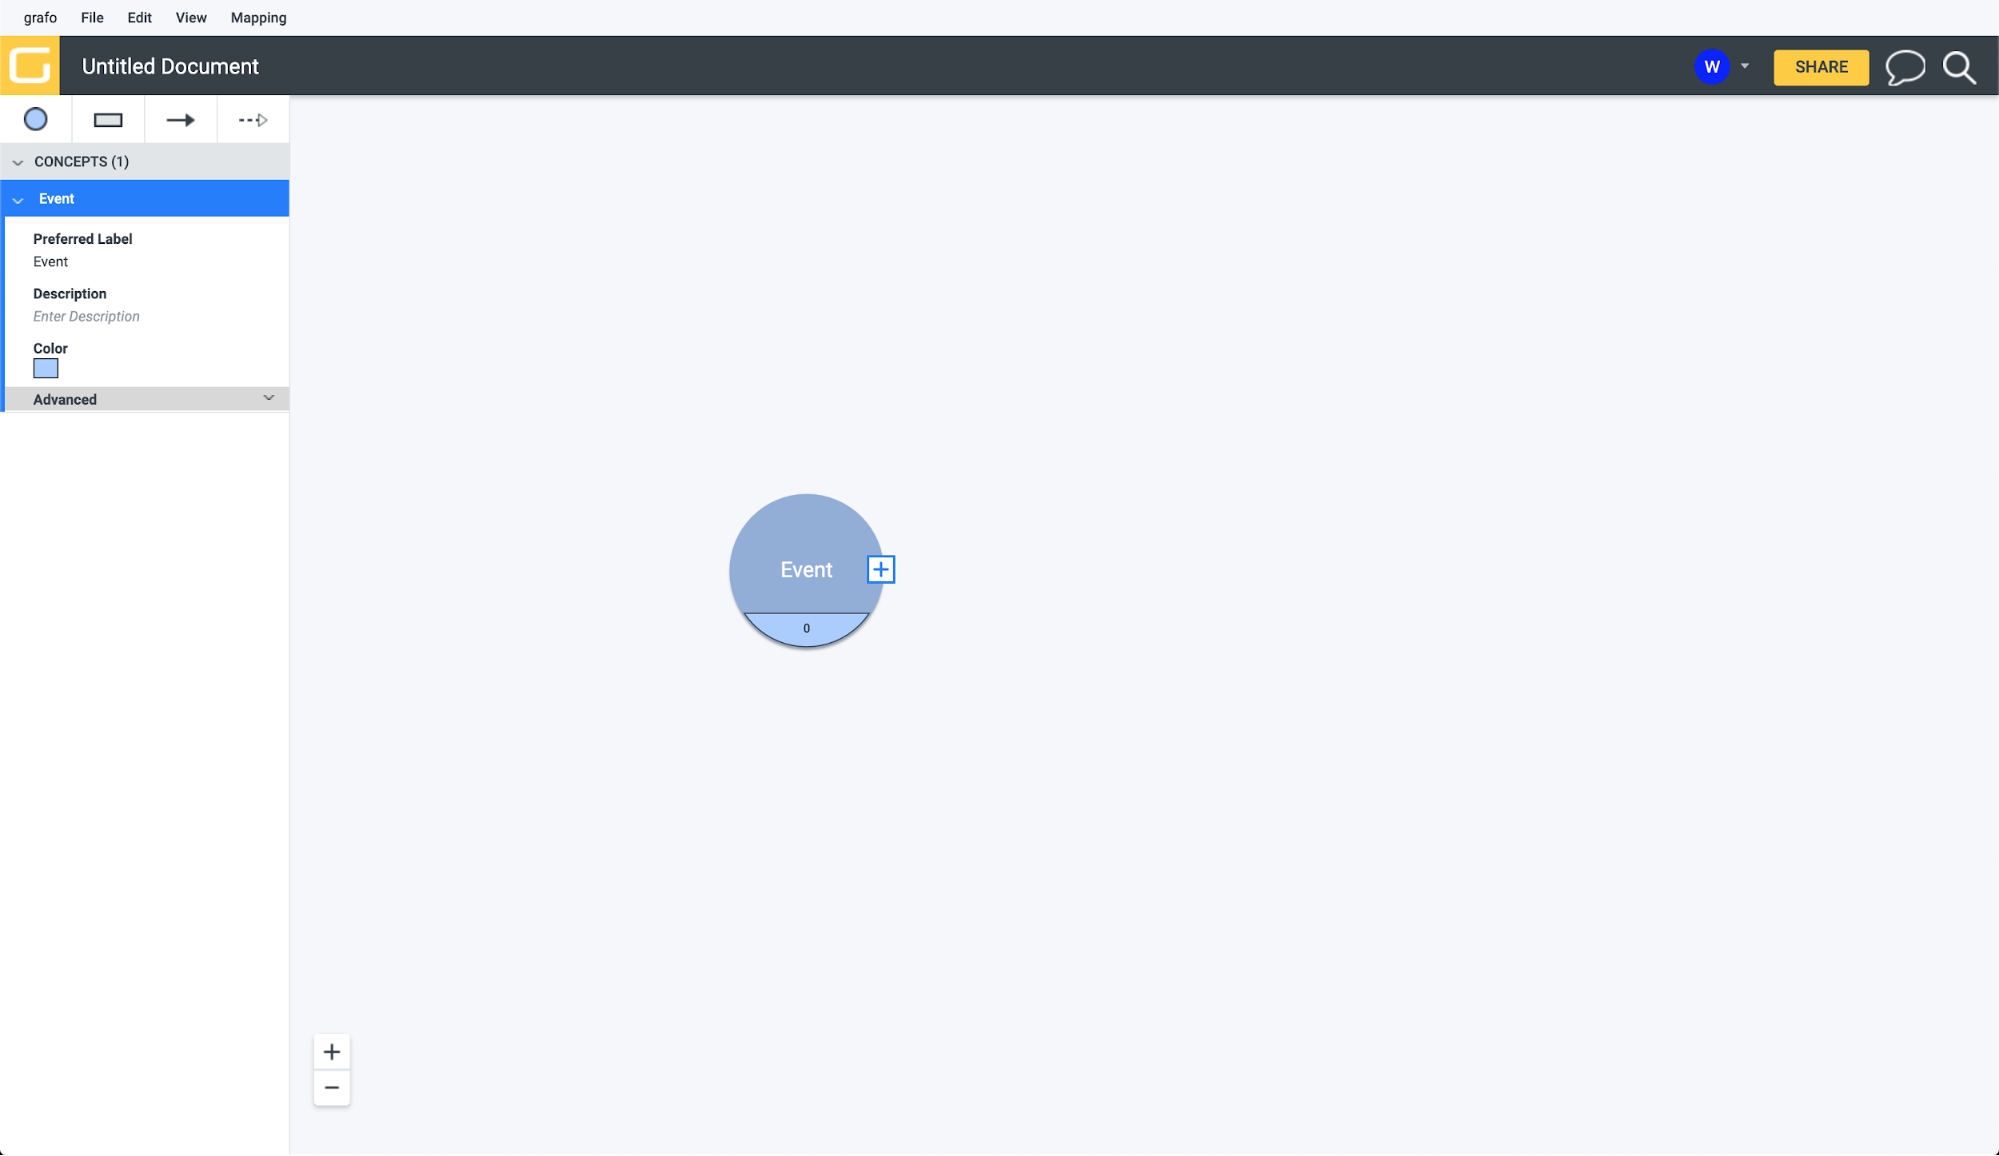
Mouse over to the canvas (no need to drag the concept), then click again to release:

Double-click on the concept and rename it to “Event”. Hit enter to save the new label:
Adding an Attribute
Now the Event concept needs some attributes for the Start Date and End Date of the event. Adding an attribute in Grafo can be accomplished in a couple of different ways. One method is by clicking the Attribute Tool in the toolbox:

Then mousing over to the concept (no need to drag the attribute):
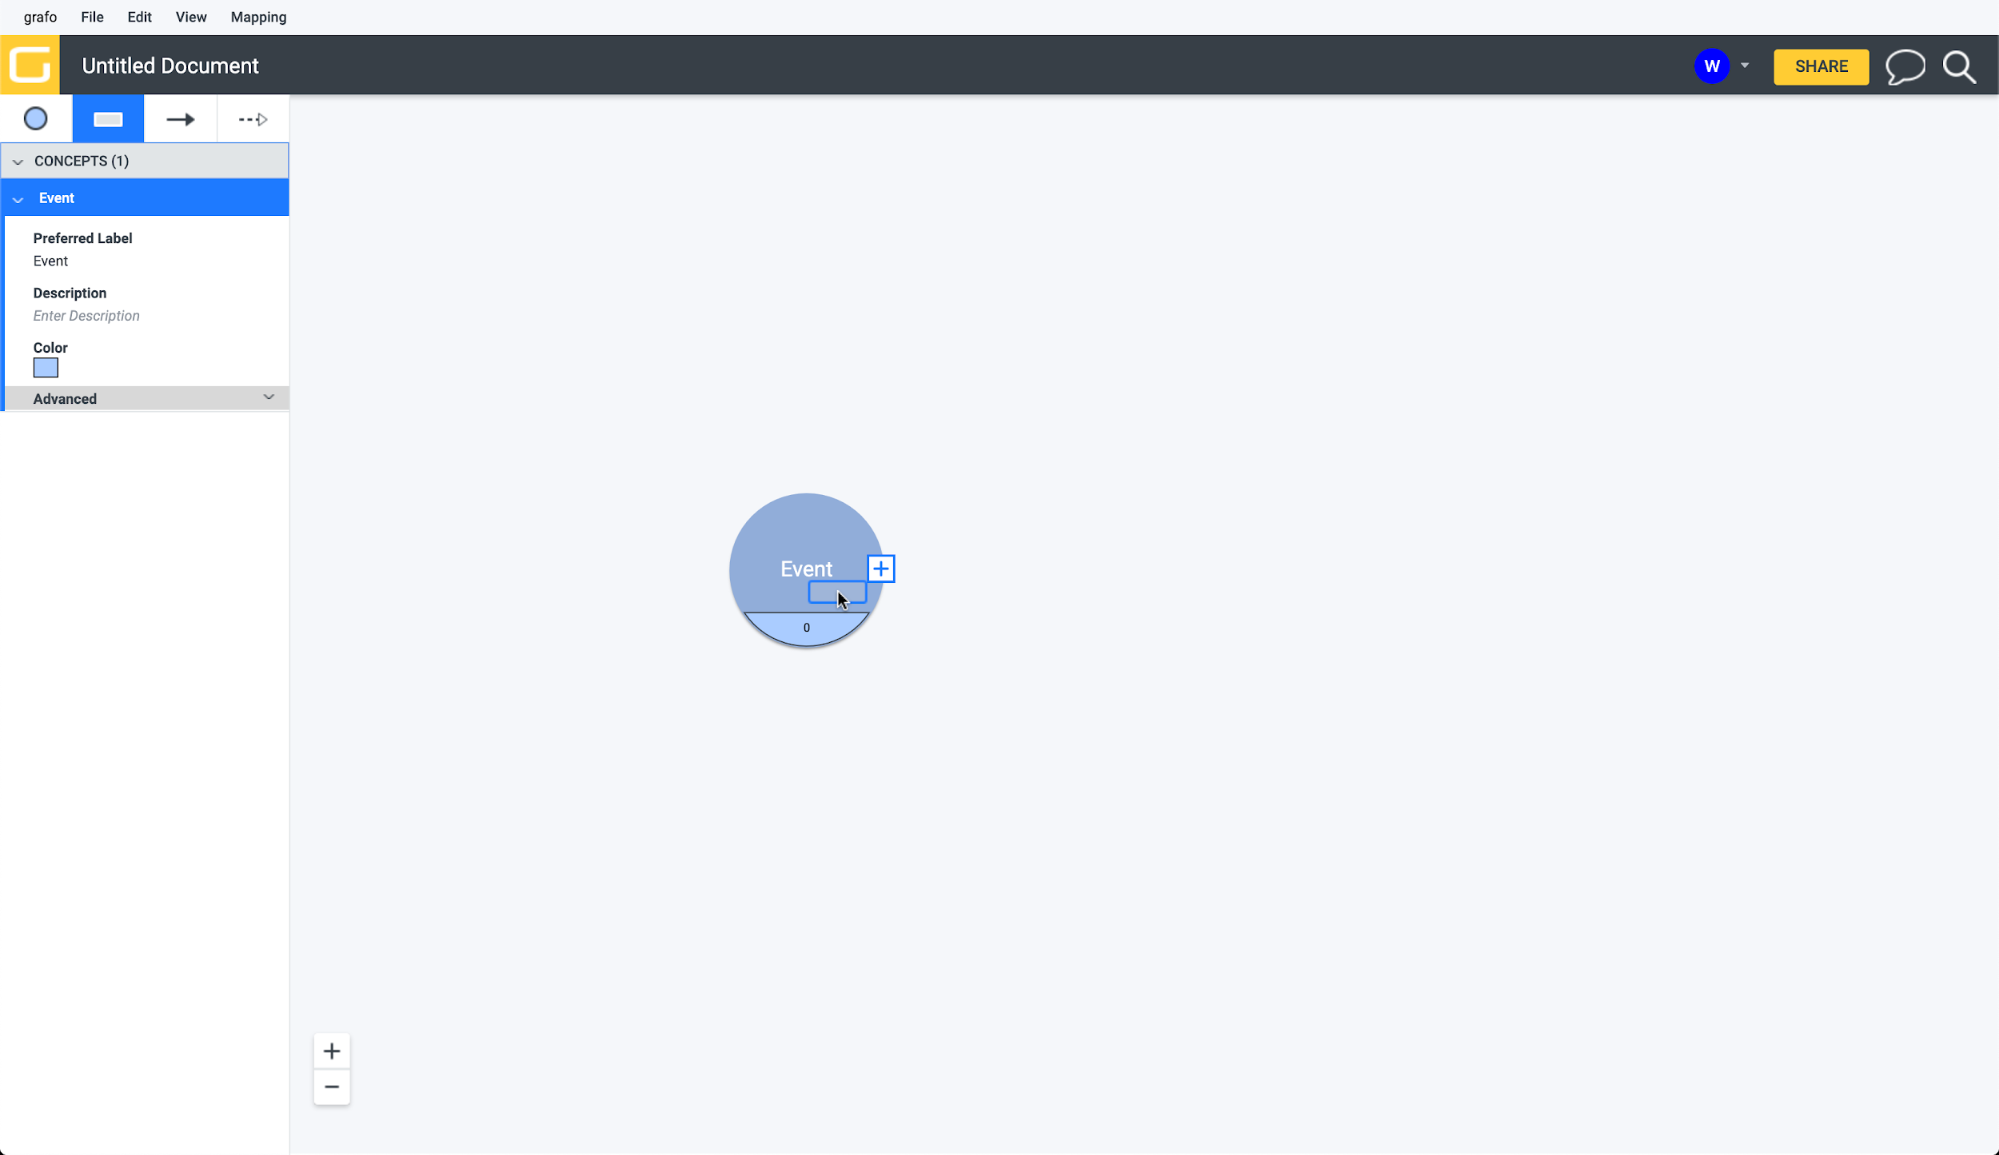
And clicking again to release:
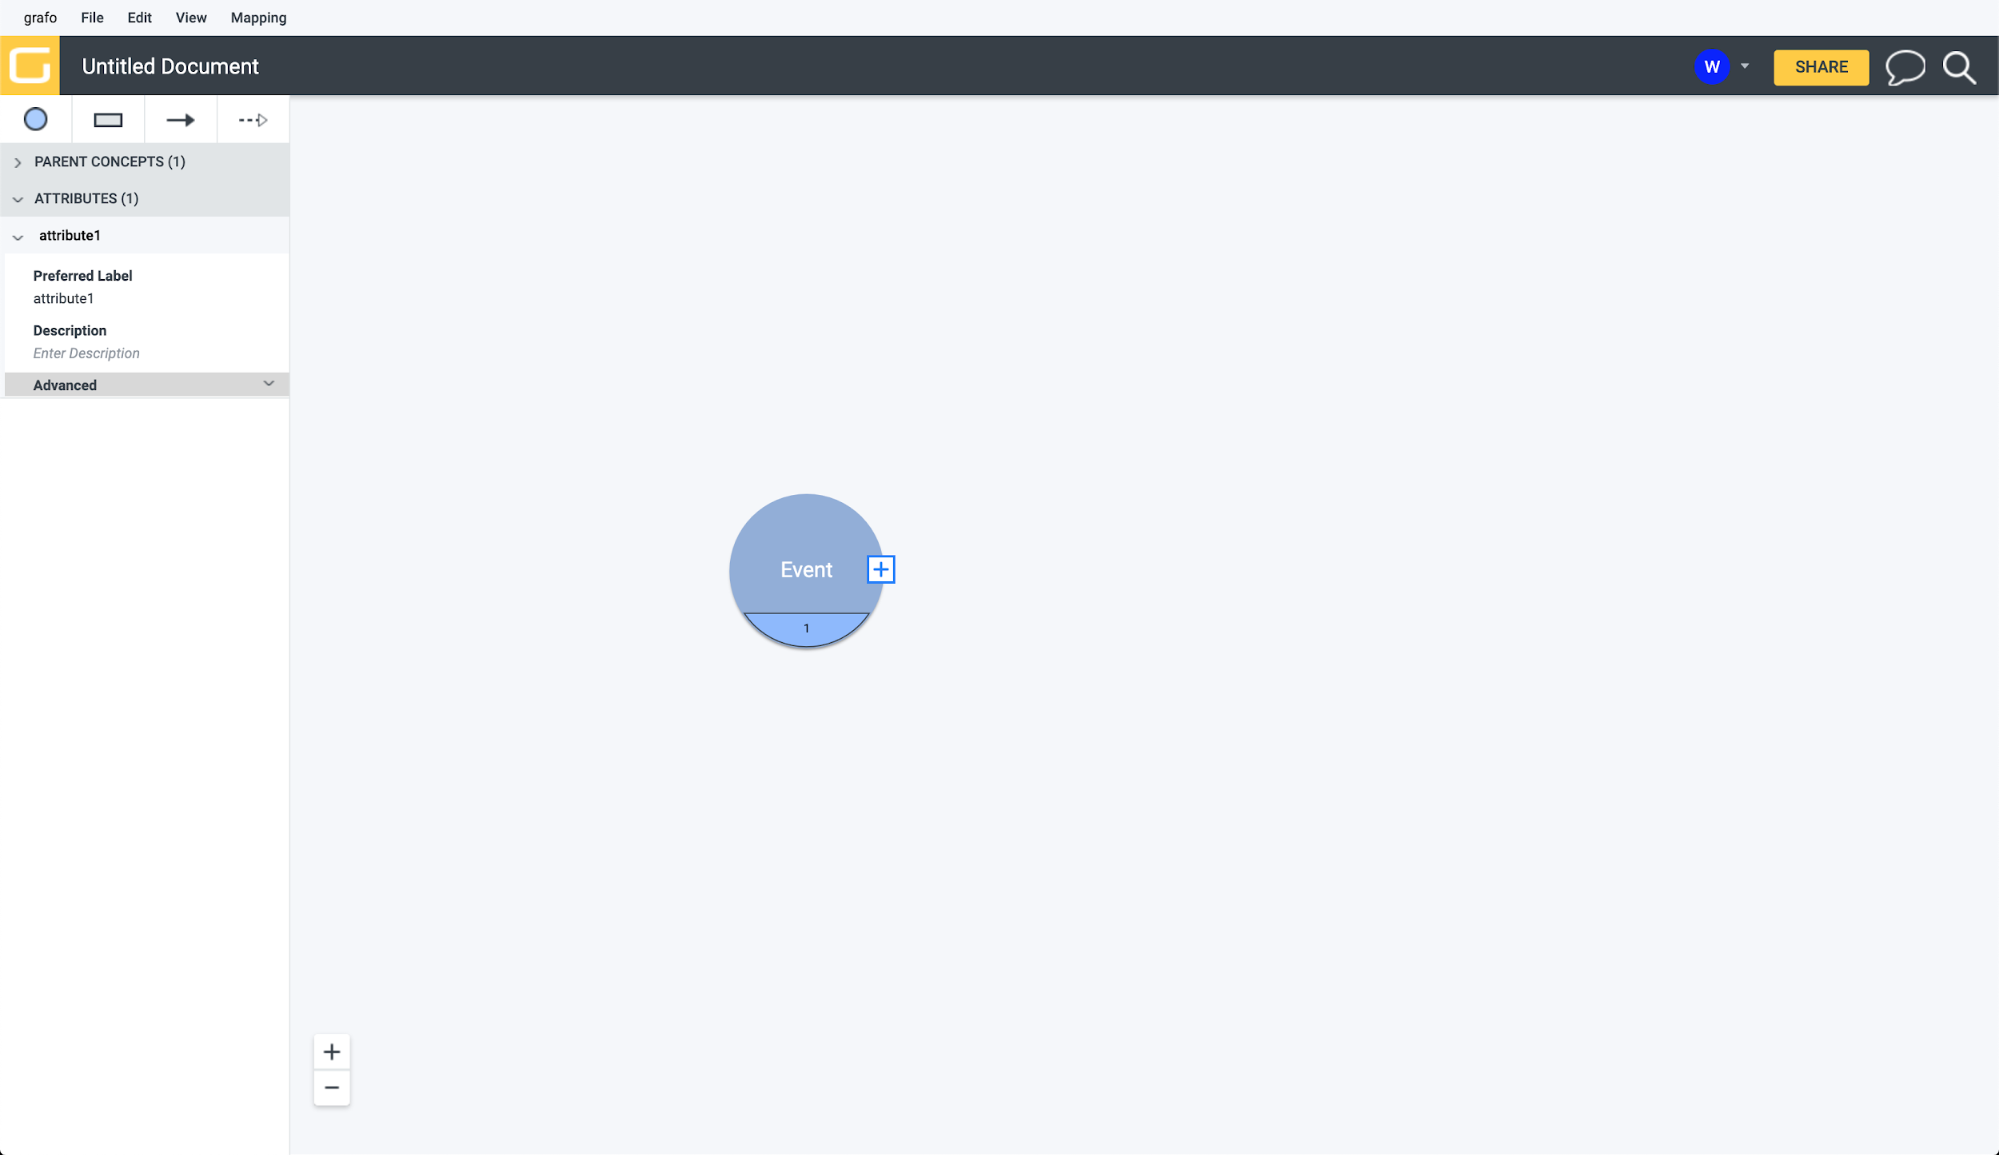
You’ll notice that the number in the crescent of the Event concept increases to ‘1’, and that the attribute panel opens up on the left-hand side of the screen.
Attributes are not edited directly in the diagram– only in the left-hand panel. To enter a label for this attribute, click where it says ‘attribute1’ under Preferred Label in the left panel:
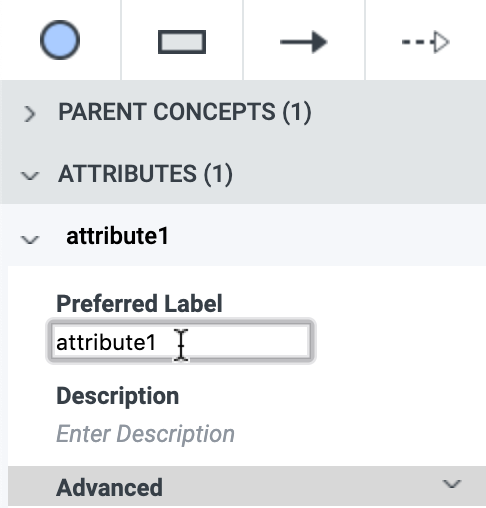
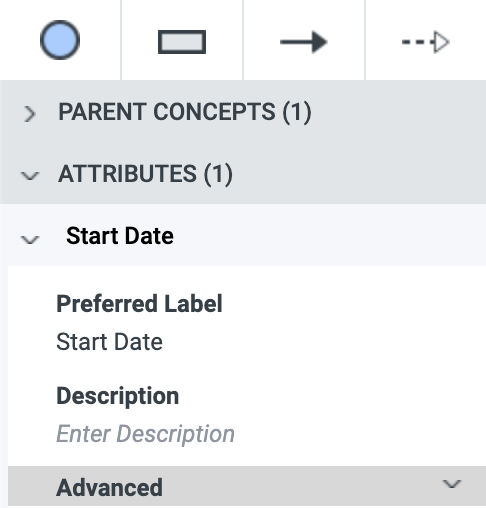
Type Start Date and hit enter:
The other method of adding an attribute uses the context menu of a concept. To add an End Date attribute, click on the little ![]() to the right of the Event concept:
to the right of the Event concept:
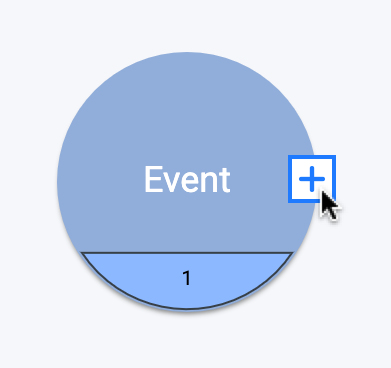
Then select ‘Add Attribute’:
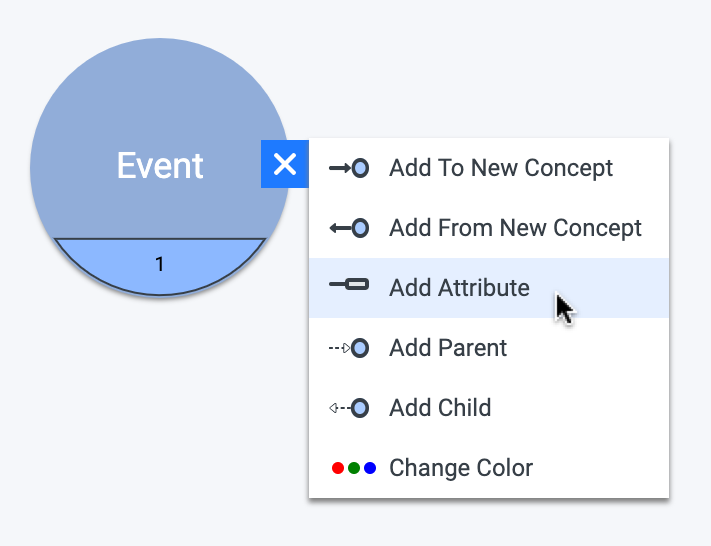
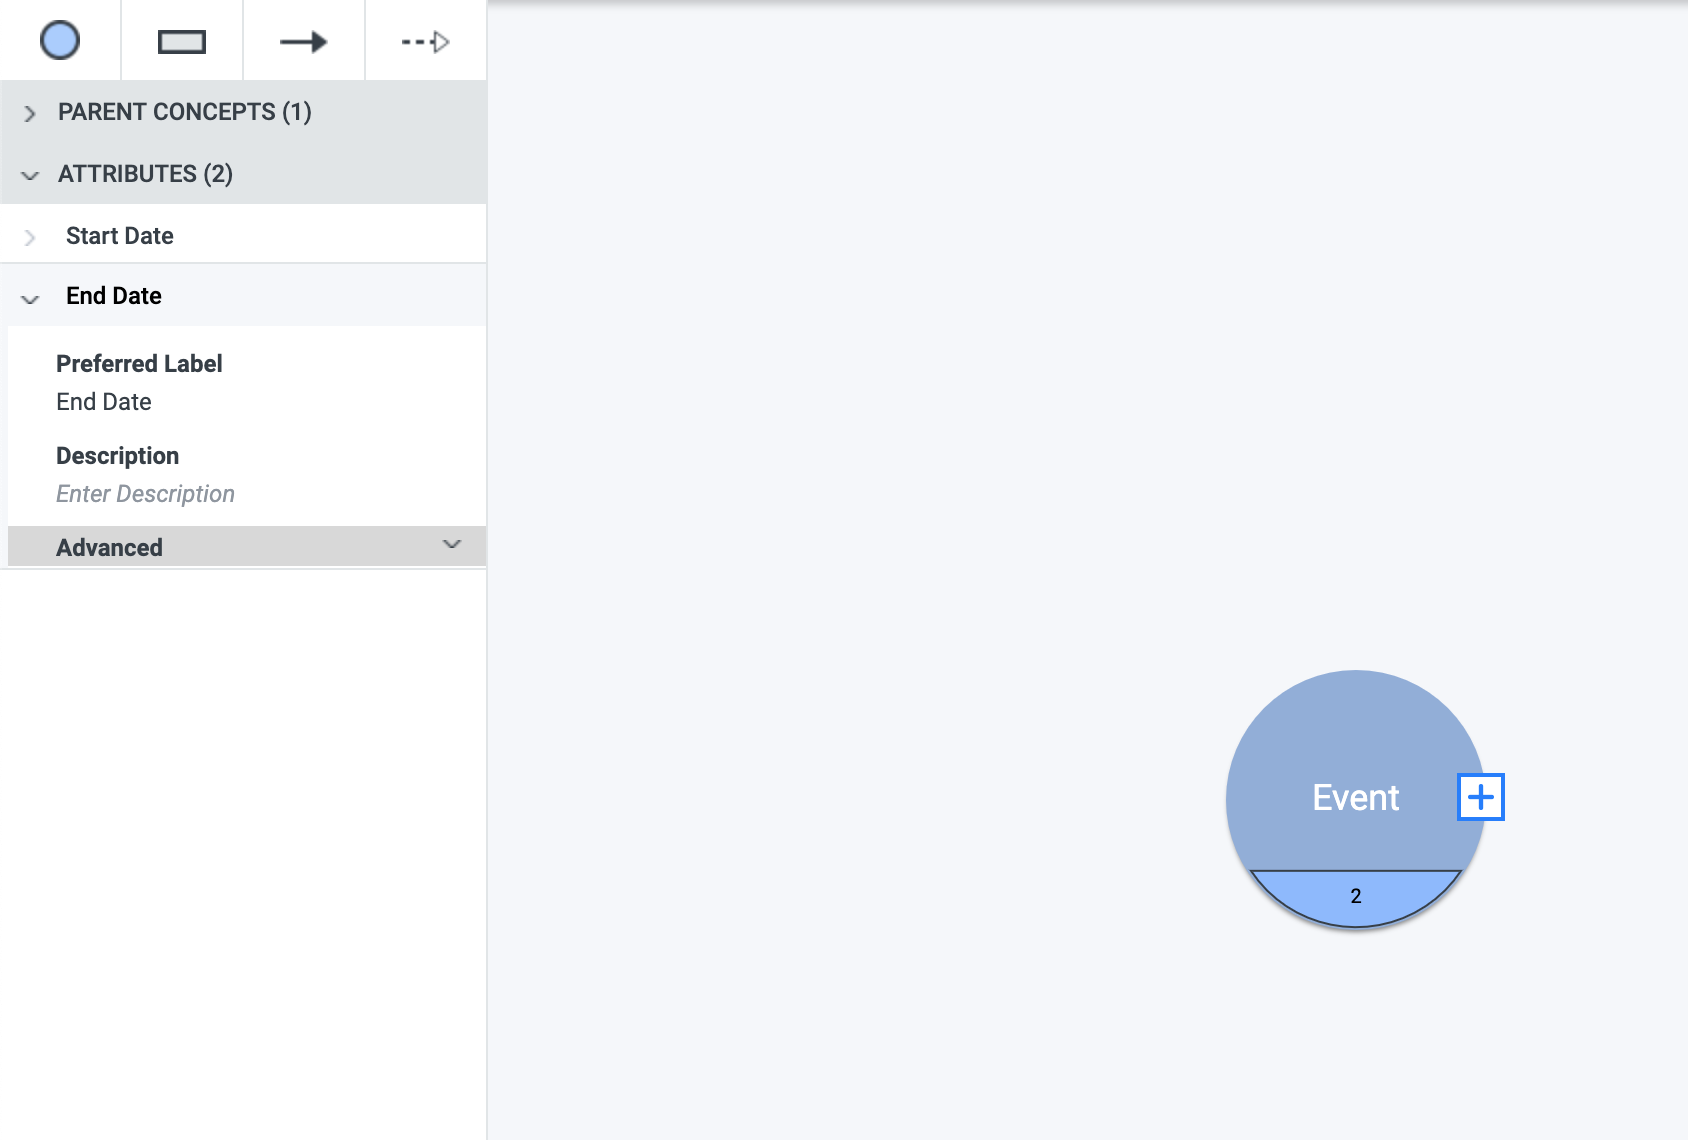
This produces the same result as the other method: the attribute counter on the concept increases by 1 (this time to ‘2’) and attribute2 opens up in the left side panel. Rename it to End Date using the same steps as before. The result should look like this:
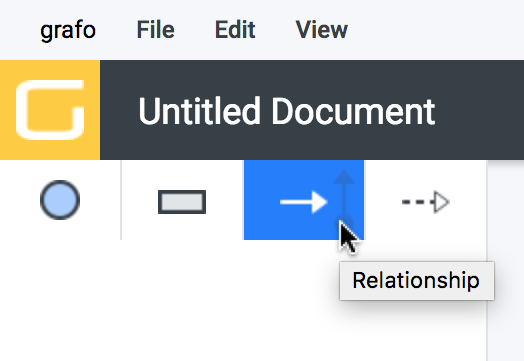
Adding a Relationship
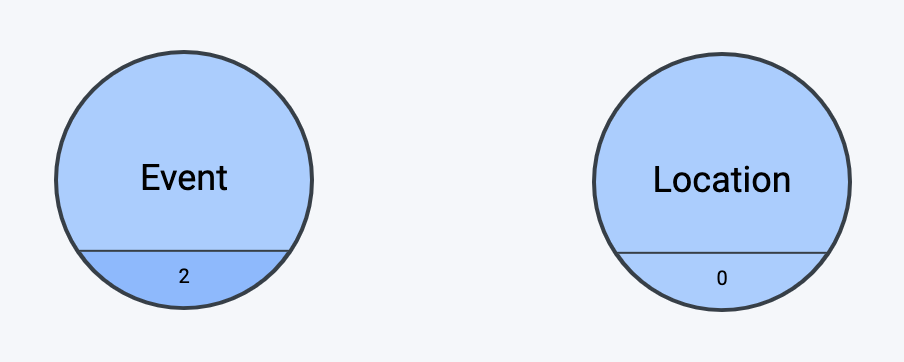
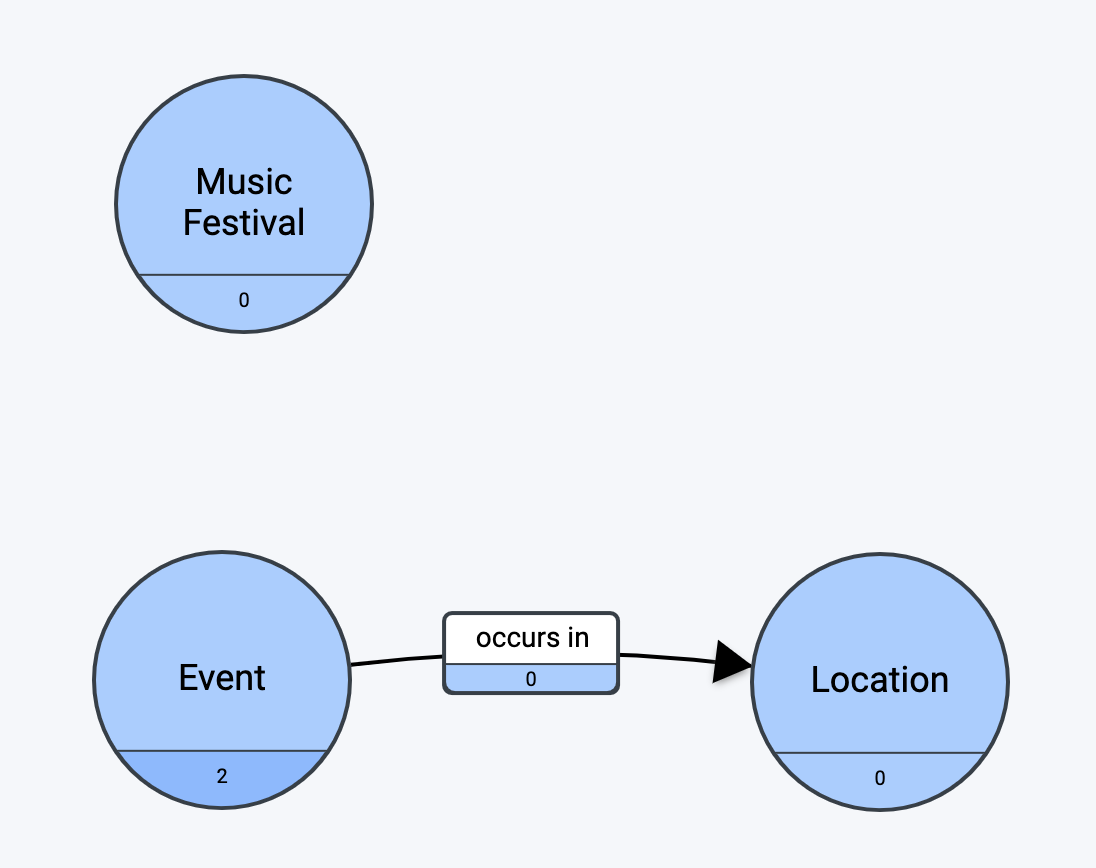
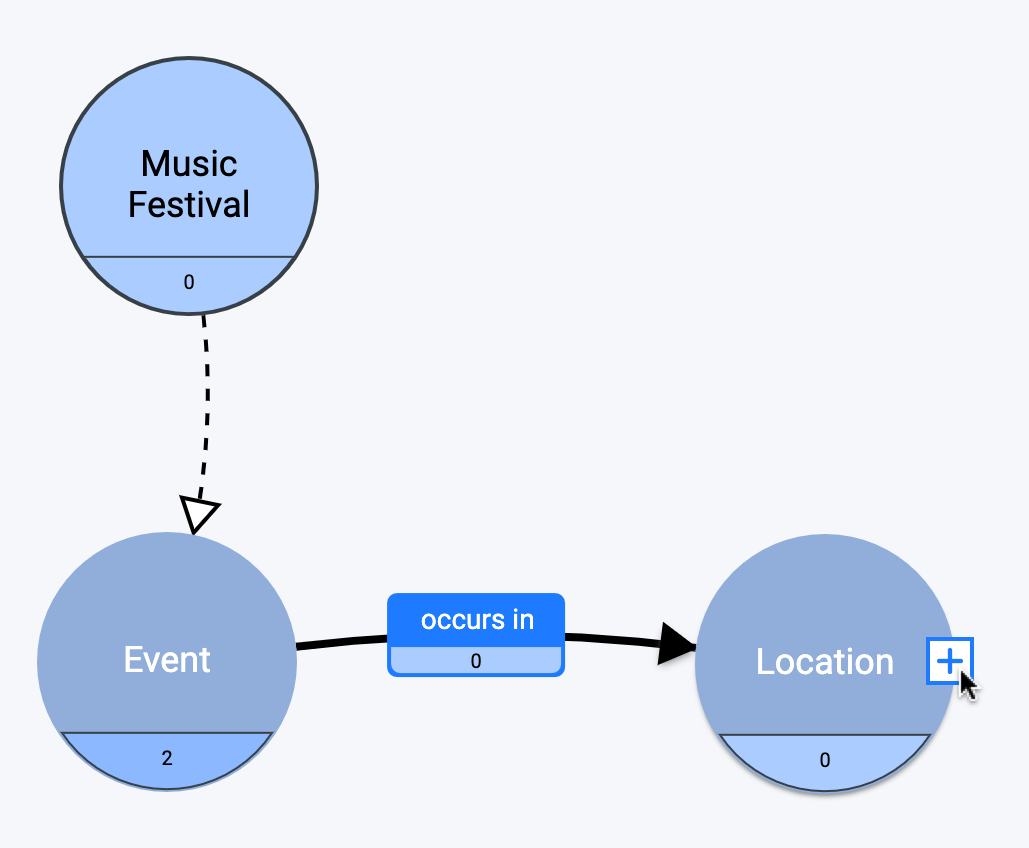
A relationship can also be added in a couple of different ways. The first method requires a second concept already in the diagram. Follow the instructions above to add a Location concept. Your knowledge graph should now look like this:
Now select the Relationship Tool in the toolbox:
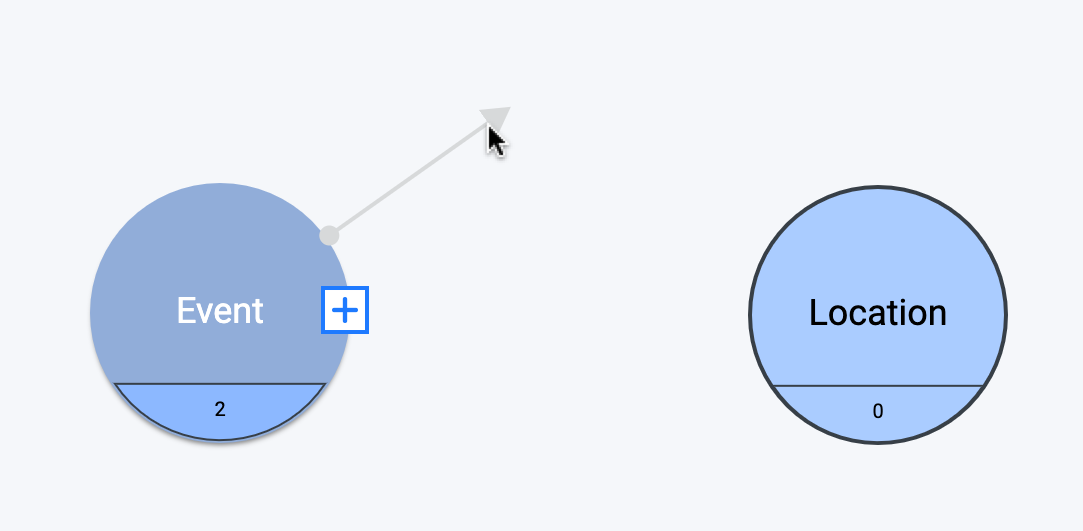
Mouse over to the first concept (the from concept) and left-click to anchor the relationship. When you mouse away, you’ll see that the relationship has been attached to the first concept:
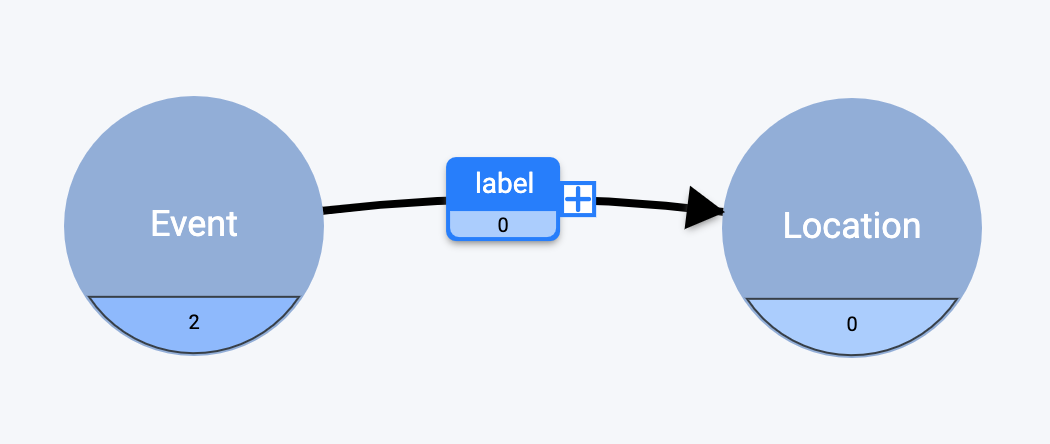
Mouse over to the second concept (the to concept) and left-click again. The concepts will now be connected by a new relationship:
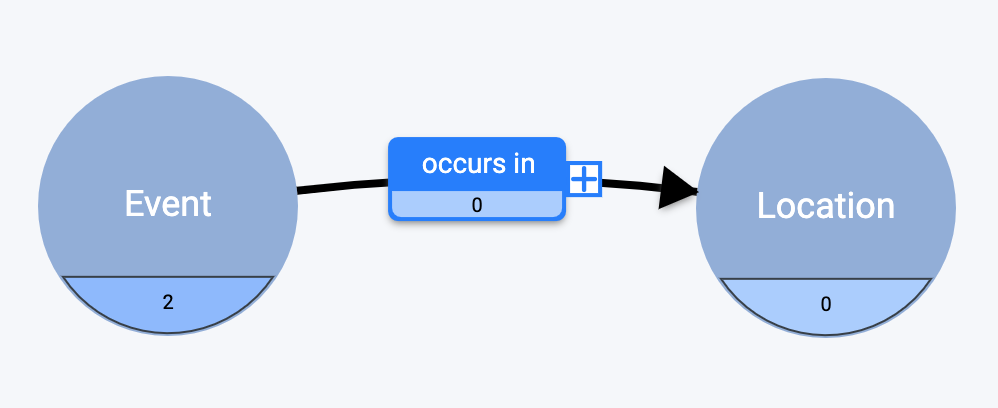
Double-click the relationship label to rename the relationship to occurs in. Hit enter to save the new label:
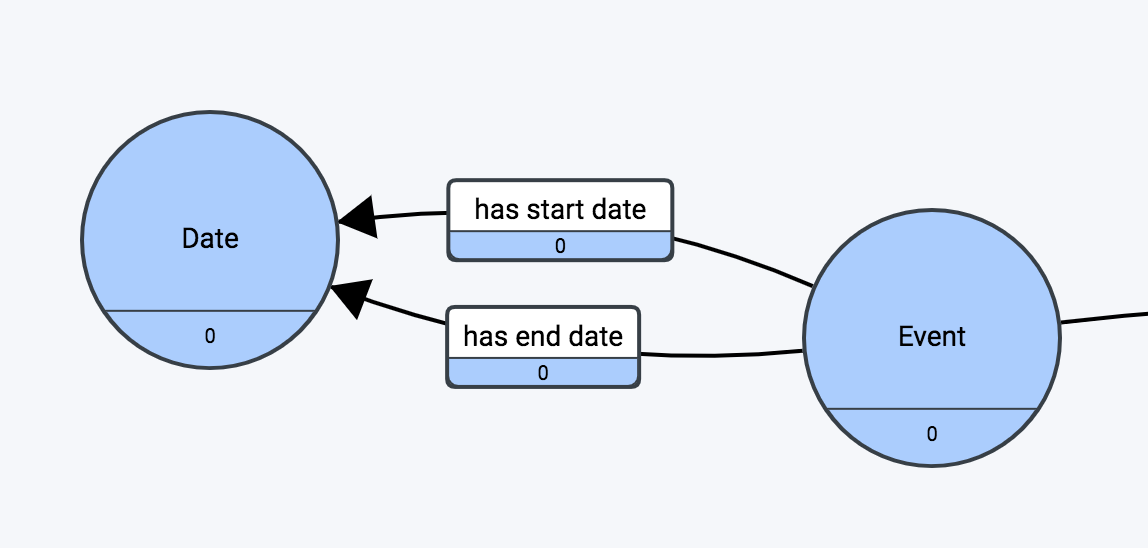
Using an Attribute vs. Using a separate Concept and Relationship
We modeled the Start Date and End Date for an Event using attributes. That’s one way to do it. Another way would be using a Date concept and two relationships: one for the start date, and one for the end date:
So– which one should you use?
The answer: it depends. Are there several other concepts that could make use of the Date concept? Or are dates unique to the Event concept? If you have existing data that you are trying to model, one method might make more sense than the other. The truth is that data modelling is as much art as science. It may take some time to figure out what makes the most sense and you might change your mind (which is OK!).
Adding a Specialization
Like attributes & relationships, specializations can be added in a couple of different ways. The method you use depends on whether you already have two concepts in the diagram that you wish to connect, or if you want to create the specialization and the concept at the same time. We’ll look at both.
The first method requires two concepts already in the diagram that you wish to connect. To use this method, create a Music Festival concept in the diagram using the process outlined above. The end result should look something like this:
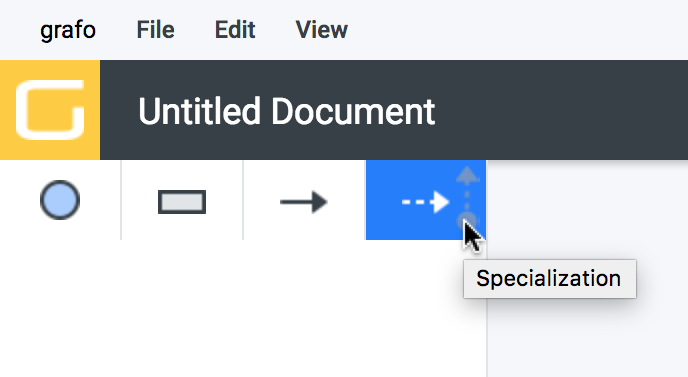
First, click on the Specialization Tool in the toolbox:
Then mouse over to the more specific concept, i.e, Music Festival, and click to anchor the tail of the specialization. When you mouse away, you will see that it has been attached:
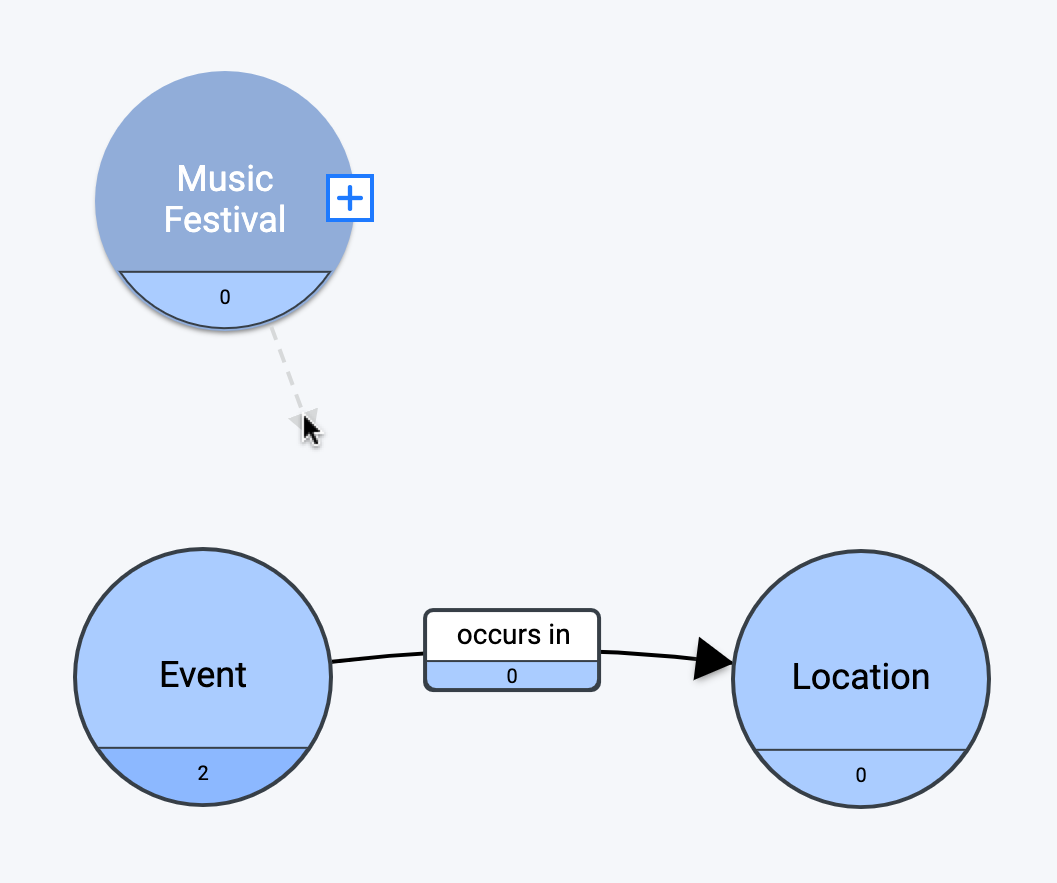
Now mouse over to the more general concept, i.e., Event, and click again to release:

To use the other method, we need to introduce some terminology. When creating a specialization, the concept that is more specific is called the Child concept. The more general concept is called the Parent concept.
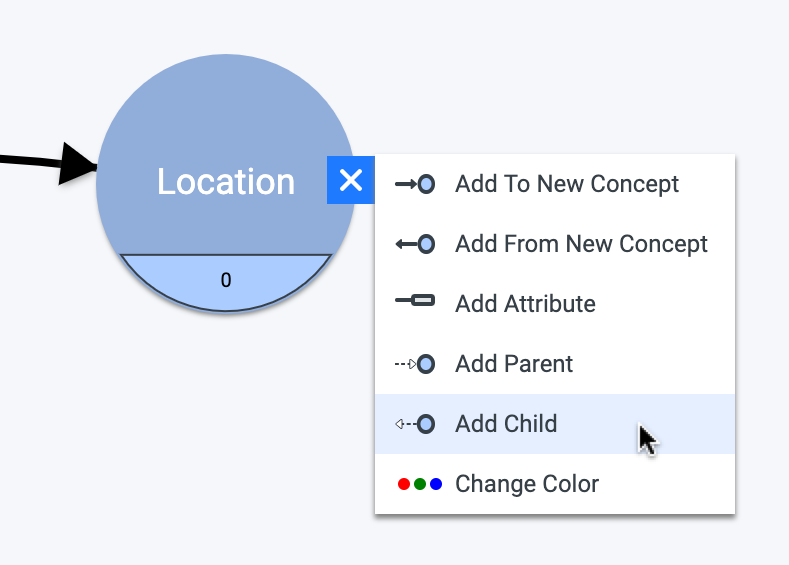
To attach a City concept to Location, first select the Location concept and click on the little ![]() to open its context menu:
to open its context menu:
Since we are adding a more specific concept, we want to add a Child concept. Select ‘Add Child’:
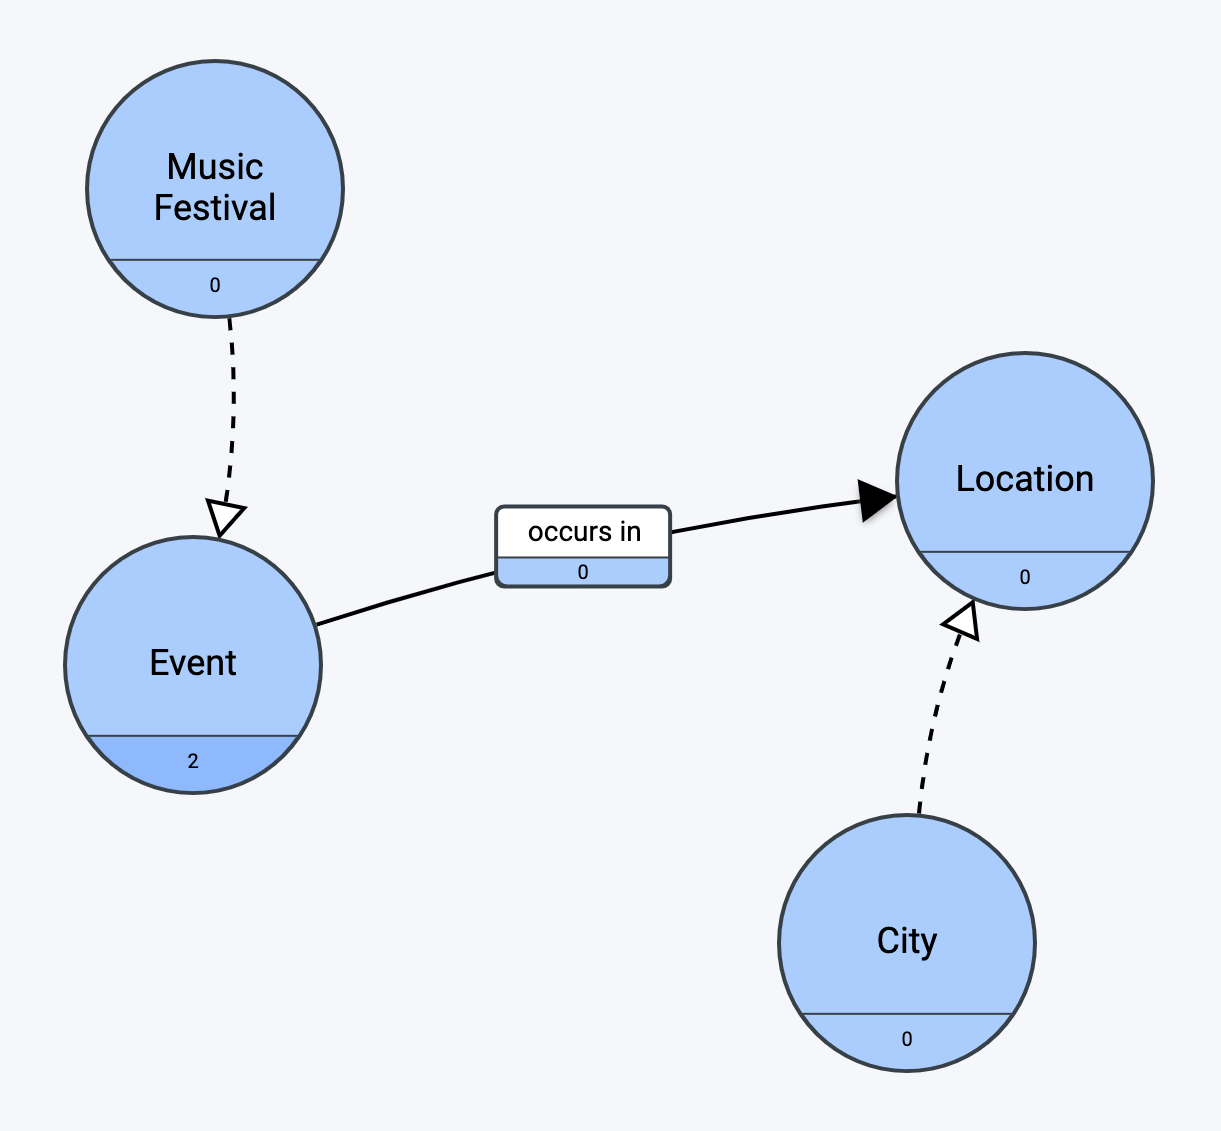
Now rename the new child concept to ‘City’ and you’re done!
Next Steps
You now have experience with each of the four primary elements of a knowledge graph: Concept, Attribute, Relationship, and Specialization. You are ready to start building your own models!
Grafo offers far more functionality than described in this tutorial. When you are ready to see all that Grafo can do, continue on to the Grafo User Guide.